Get started with TrackJack

Welcome to TrackJack. By now, you should have received your TrackJack, or the system should have been installed by us or a certified dealer. We’re here to help. On this page, you’ll find everything you need to get started quickly and easily.

Still having trouble? We’re here to help!

I need help with the installation The system has already been installed

Create an account and add the TrackJack code

The system has now been installed. You can now create an account (or, if you already have an account, log in straight away) via my.trackjackeurope.com and then add the unique TrackJack code. This code is printed on the card in the packaging or was given to you by the installer after installation. To do this, go to ‘Manage‘ -> ‘Systems‘ and then click on the ‘Add system‘ button. Watch our video on how to create an account.

Did you install the TrackJack yourself? If so, you can now follow the steps below to go through the installation wizard.

If the installation was carried out by us or a certified garage, the registration number, mileage and any service level ordered will already have been added. You can then proceed to step 5 in the installation wizard outlined below.

Installation wizard

If you have installed the TrackJack yourself, you will be asked to go through the installation wizard after entering the TrackJack code. Follow the steps below or watch the video.

  • Step 1: Set up your TrackJack
    • Name
    • Number plate
    • Make
    • Model
    • Chassis number
    • Mileage
  • Step 2: Installation
    • Select how you have connected the TrackJack. If you have a TrackJack GO!, you can proceed to step 3.
      • Motion detection / OBD2 port: the system is connected to the positive and negative terminals or is installed via an OBD2 cable.
      • Ignition connection: the system is connected to the positive, negative and switched positive terminals.
        • If the system is connected via the ignition, the next step is to select whether any additional options, such as a privacy button, driver identification or relay, are connected.
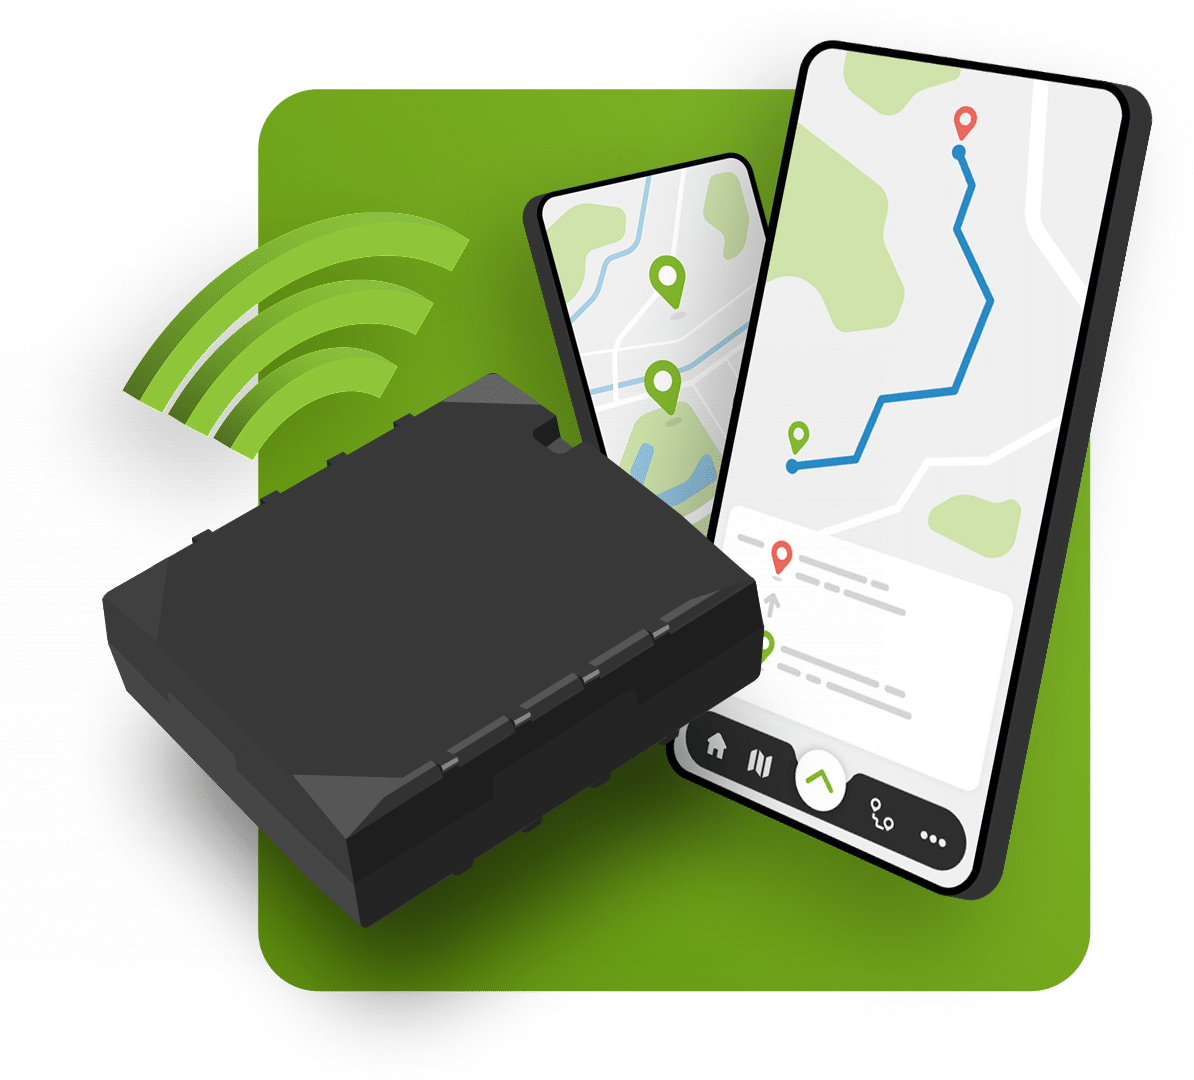
  • Step 3: Your installation has been tested
    • The system will now search for a location, connect to the platform and check for an ignition signal if the system is also connected to the ignition.
    • Once everything shows a ‘green tick’, proceed to the final step.
  • Step 4: Purchase a service level
    • Did you order a service level directly when placing your order? If so, you will have received an email on the day of the order containing a service code that can be entered here.
    • No service code yet? You can order one in the webshop.
  • Step 5: Select driver
    • Select the driver who will be driving the vehicle and complete the wizard.


You have now completed all the steps and can finish the installation wizard. The system is now being configured and will be shown as ‘operational’ within 10 minutes.

Additional features

The system has been configured and is now operational. Would you like to configure further settings, such as adding multiple administrators, setting office hours, receiving tamper alerts and having reports emailed automatically? If so, please follow the rest of the step-by-step guide.

Continue with the step-by-step guide

FAQ

If you have any further questions, please take a look at our Frequently Asked Questions (FAQ) page.

Go to the FAQ

Want to stay up to date with service disruptions and maintenance? Visit the status page.