Installation
Professional installation is essential for the system to function correctly. We therefore recommend that you have the installation carried out by one of our experienced technicians. We will visit a location of your choice in the Netherlands or Flanders and carry out the installation with care for a fixed low rate per installation.
Would you prefer to carry out the installation yourself? This is possible with the TrackJack GO! and OTM. Please ensure that you follow one of the wiring diagrams below.
Installation by TrackJack
There are several ways to install the TrackJack.
- The standard method is to install the system behind the dashboard. The TrackJack is then connected to the positive, negative and switched positive terminals (if present).
- Will you be using driver identification? In that case, an ID reader is installed which then recognises (by scanning the ID key) which driver was driving. When purchasing a system, the installation options available for that system are displayed. If you have any questions about the different installation options, please contact us.
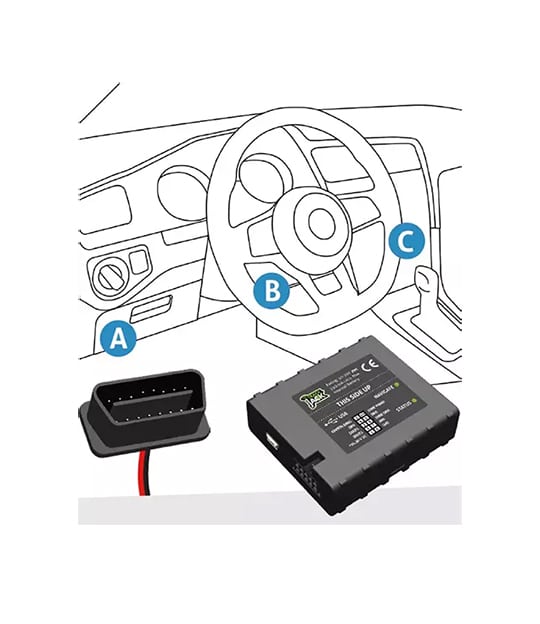
Installation using an OBD2 cable
The system can be connected to a vehicle’s OBD port using an OBD connection cable.
The OBD port can be located in various places, usually at the bottom left of the steering wheel. Can’t find the OBD port? Then search for the location of the OBD port using the following keywords via google.nl/images: OBD location + car make + model + year of manufacture
Prefer to connect to the ignition wire? Follow one of the wiring diagrams below to install the system using a wiring harness.
Create an account and add the TrackJack code
Once the system has been installed, you can create an account and add the unique TrackJack code to your online account. You will then go through the installation wizard to enter all the vehicle details and test the system.
Create an account and add the TrackJack code